contact me
Hi! I'm Lindsay Ferrier. You might remember me from a blog called Suburban Turmoil. Well, a lot has changed since I started that blog in 2005. My kids grew up, I got a divorce, and I finally left the suburbs for the heart of Nashville, where I feel like I truly belong. I have no idea what the future will hold and you know what? I'm okay with that. Thrilled, actually. It was time for something totally different.
Looking for a Satisfying Day Hike at Montgomery Bell State Park? Here’s What You Need to Know.
July 14, 2016
At just under five miles, this day hike at Montgomery Bell State Park is perfect for families who are ready for a challenge!
If you’re getting a tired of the city park scene in Nashville or just looking for a trail that’s a bit more challenging, Montgomery Bell State Park in Dickson is definitely worth the short drive out of town to get there.
The park is about 30 minutes outside Nashville. You can take Interstate 40 all the way to Dickson, but it’s about the same distance and a far more scenic drive if you exit I-40W at McCrory Lane, turn right, and take McCrory about a mile to where it dead-ends on Hwy 70. Turn left on Hwy 70 and take it all the way to the park entrance. (Google Maps will route you this way if you get off the interstate.) You’ll pass through the small towns of Pegram and White Bluff and see lots more interesting sights along the way than you would on the interstate.
Once you get to the park, you’ll quickly realize that it’s enormous– At more than 4,000 acres, it includes a swimming lake, campgrounds, cabins, a golf course , an inn and miles and miles of hiking and horse trails– so it can be confusing to navigate. Don’t worry– I’m going to tell you all you need to know to go on a great hike that’s between 4.2 and 4.8 miles and will give you a feel for what Montgomery Bell has to offer.
When you enter the park, follow the signs to the park office– If you enter from Hwy 70, it will be just beyond the park’s entrance. (From the entrance nearest I-40, you’ll have to drive through the park to get there.) Once you park, it’s a good idea to go inside the office for two things– a free brochure that guides you through the Jim Bailey Nature Trail and a $2 map at the counter of all the hiking trails within the park. This map is the ONLY way you can navigate all of the park’s trails on your own, so it’s well worth the money. I’ll outline your hike in detail in this post, but I’d still recommend that you carry a map on you to make sure you’re on the right track.
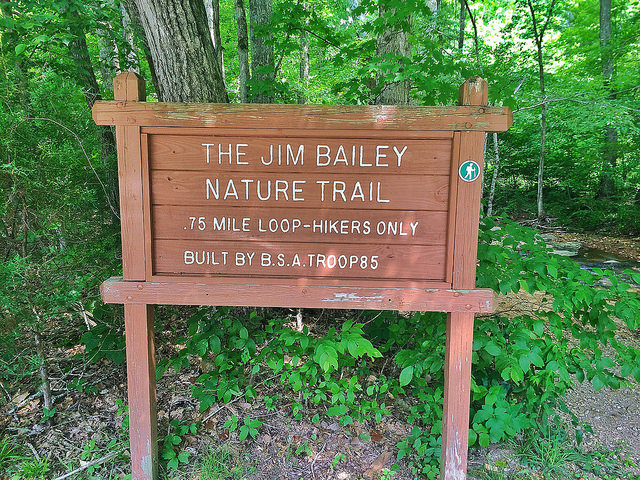
Located just off the park office’s parking lot, the Jim Bailey Nature Trail is a great option on its own for those of you with smaller children, especially if you use the corresponding brochure. (There are also brochures on the birds and butterflies found in the park– You may want to bring those along as well.) The Nature Trail is also an optional start to this hike. If you start here, the hike will be 4.8 miles long– If you skip it and start on the Wildcat Trail across the road (I’ll tell you where to find it in a moment), the hike will be 4.25 miles.
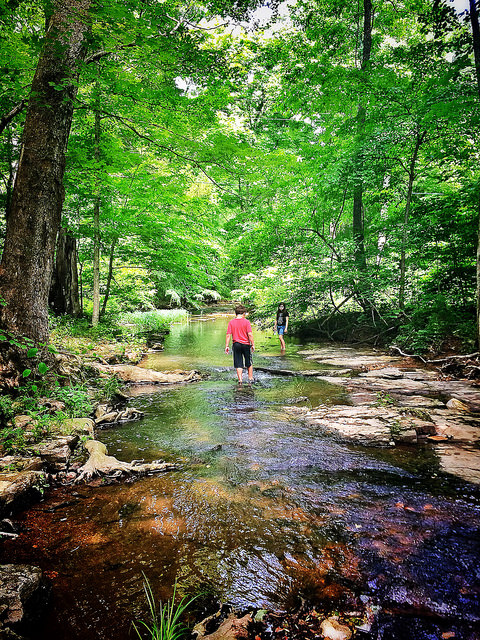
The biggest draw to the Nature Trail is this creek– It’s perfect for splashing around in.
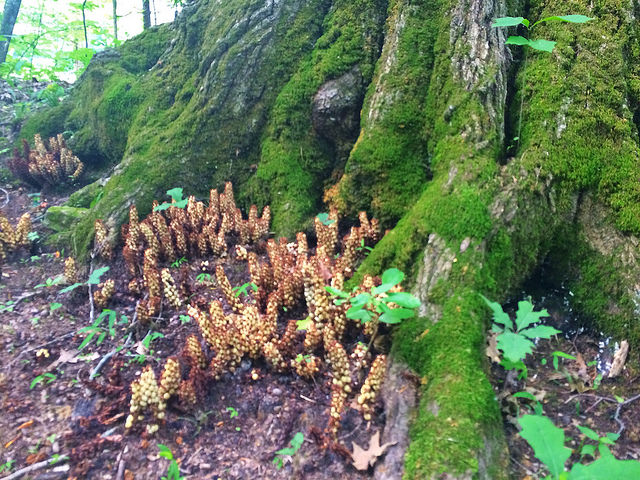
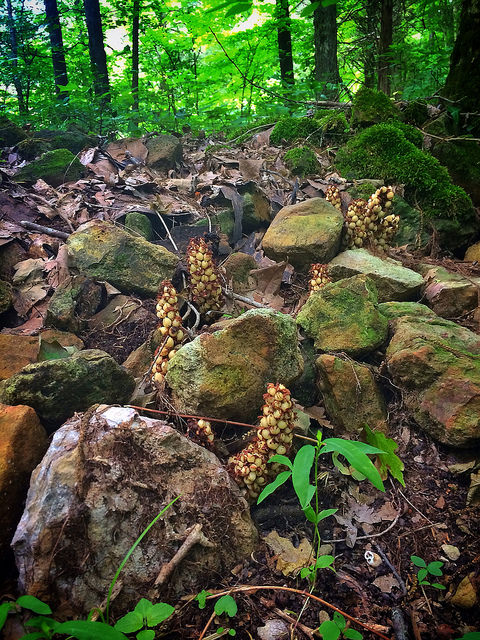
We also spotted these bizarre plants at the base of an enormous oak– At first, I thought they were corncobs sticking out of the ground!
Can anyone identify these plants? I’ve never seen them before or since.
All along the trail, numbered signposts will direct you to read portions of the brochure, which has good information for kids on everything from the types of trees you’re seeing to the cycle of life to the park’s history– For example, these rocks were left here by early settlers in the 1800s as they cleared the fields for farming. I don’t know about you, but I find this kind of thing fascinating.
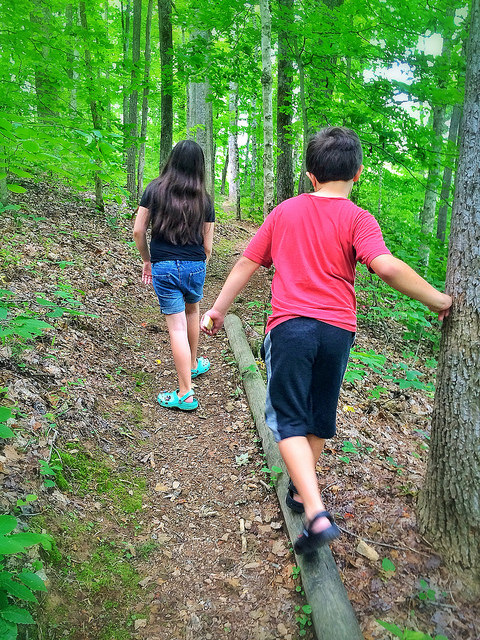
Be advised that while the trail is cleared and well-maintained, there is a lot of summer undergrowth on either side of the Nature Trail for the first quarter-mile or so– You’ll definitely want some bug spray. The new growth eventually clears out to older forest, and you’ll be rewarded at the end of the trail with a beautiful red cedar thicket.
The Nature Trail ends at a point just across the road from the park office. From here, you can head back to your car– or continue on the Wildcat Trail. This is where you may opt to start your hike if you are taking the 4.2 mile option– If so, the Wildcat Trail sign is easily visible when you cross the road after parking at the park office.

The Wildcat Trail runs in two directions here– Be sure and look for the sign pictured above. You will be taking the Wildcat Trail to the Ore Pit Loop.
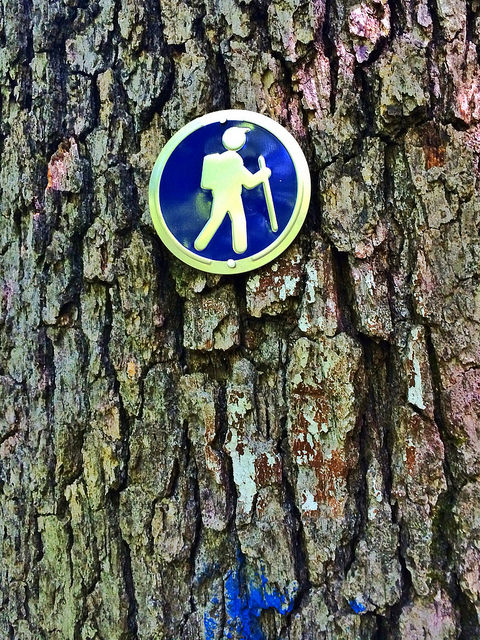
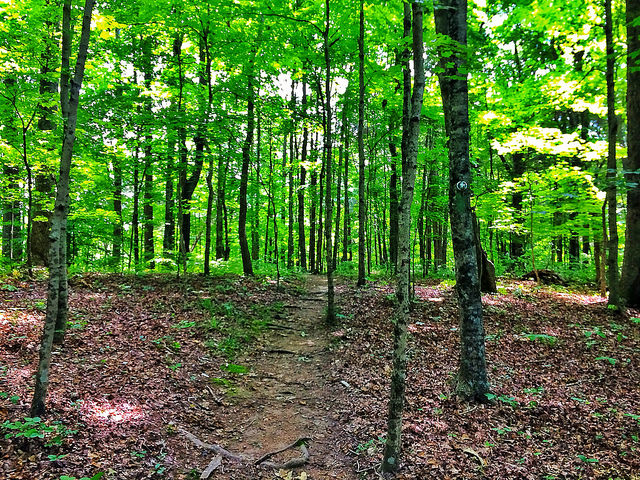
Once you’re on the Wildcat Trail, just follow these easy-to-spot blue signs. You’ll pass a campground and at that point, you’ll encounter what was for us the only confusing part of the entire hike– The trail appears to lead you right into a creek, without picking up on the other side. If this happens to you, just look for the bridge that spans the creek bed. Cross the bridge and you’ll find that the Wildcat Trail picks up on the other side. We had no problems after this, so don’t let this minor glitch make you nervous!
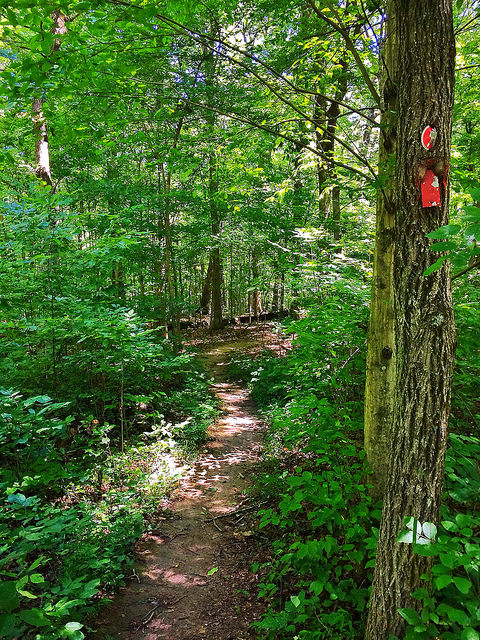
The Wildcat Trail will eventually end at the Ore Pit Loop. Here, you can go either right or left. You’ll want to turn RIGHT, and start following the red trail signs. The Ore Pit Loop and the Montgomery Bell Trail merge at this point for part of the loop.
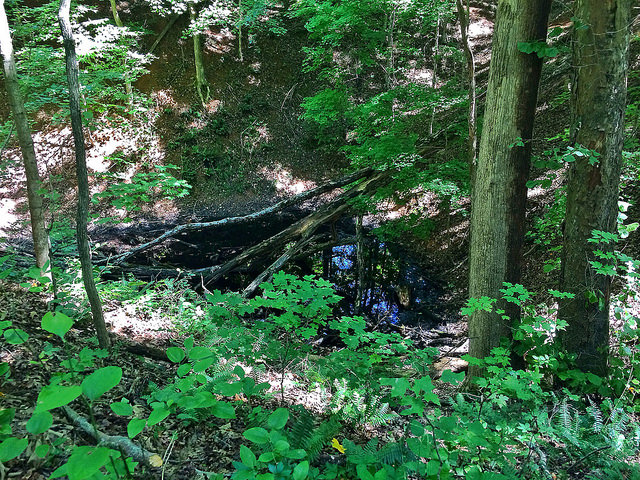
The Ore Pit Loop is notable for the large holes you’ll see in the forest on either side of the trail. These holes have a story behind them– In the early 1800s, iron ore was discovered here and hundreds of men came to seek their fortunes by digging for iron and clearing the forests for fuel. The Civil War brought an end to that industry and nature has since reclaimed the land, but the pits remain, as well as scattered pieces of the Laurel Furnace.
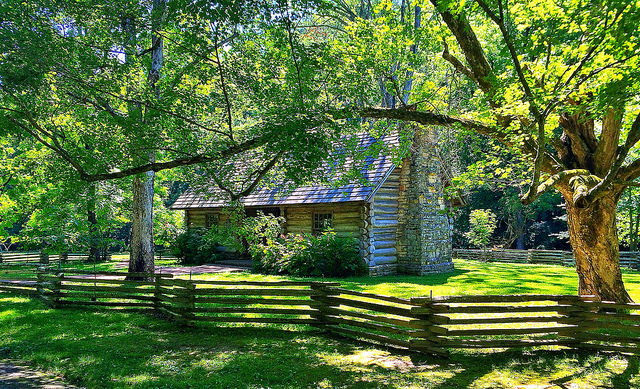
Soon, you will come to a clearing where you’ll see this charming log cabin. It’s a replica of the home of the pastor who founded the Cumberland Presbyterian Church on this site in 1804.
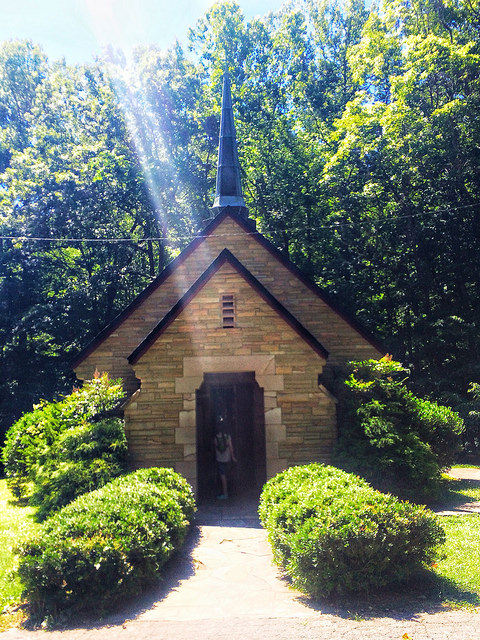
The original church still stands nearby and you’re welcome to go inside for a moment of reflection.
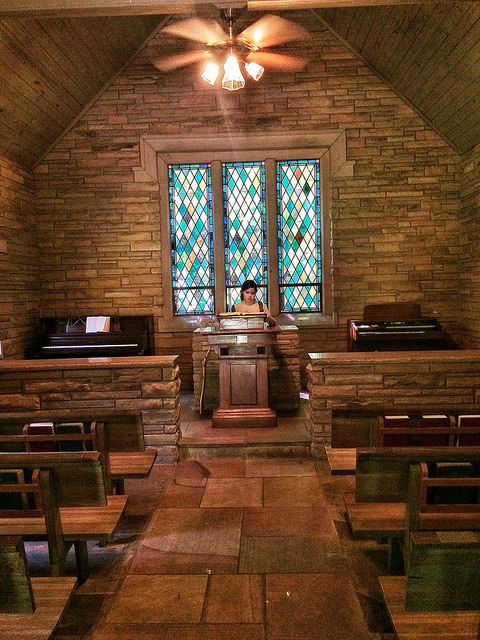
Services are still held here from time to time, as well as weddings. You’ll also see a monument nearby, commemorating the 200th anniversary of the Cumberland Presbyterian Church denomination.
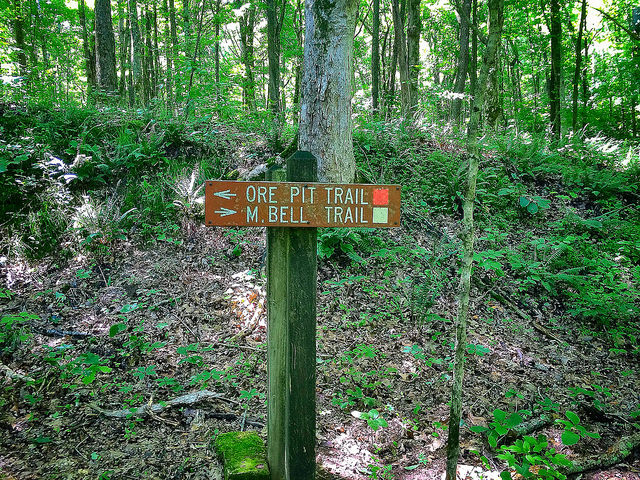
Once you’re done looking around, continue on past the log cabin and head back into the forest– There, you’ll see this sign. Turn LEFT here and continue up on the hill and along the Ore Pit Trail.
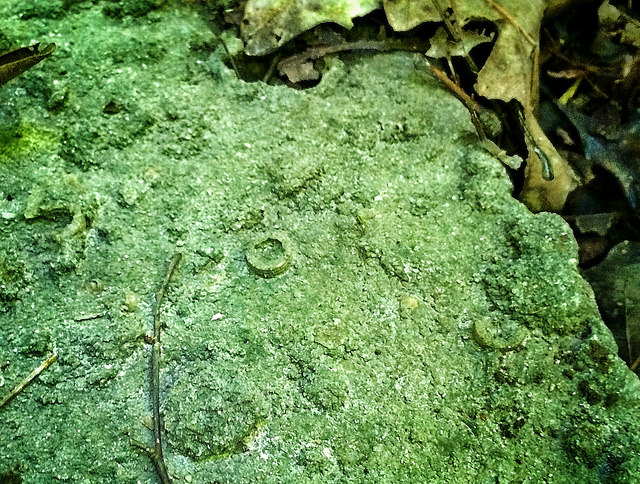
As we climbed this hill, we spied some large rocks containing some really interesting fossils. I’ve seen these circular fossils before and have no idea what they are– They look like little ring-shaped worms if you look at them closely. Any ideas?
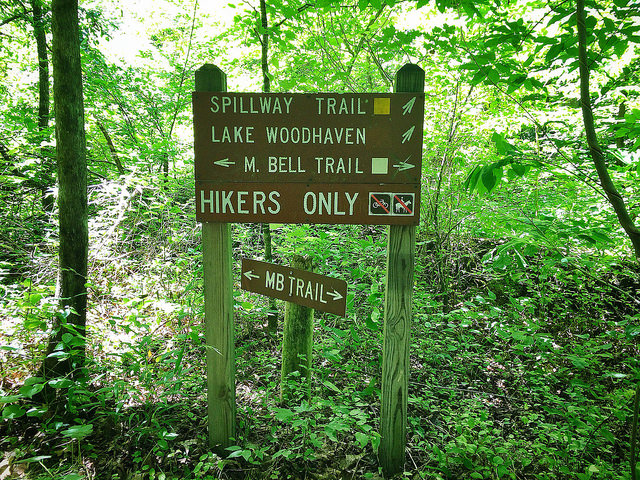
The Ore Pit Trail will eventually run back into the Montgomery Bell Trail– At this second intersection with the Montgomery Bell Trail, you are going to turn RIGHT, following the Montgomery Bell Trail toward the Spillway Trail. You will stay on the Montgomery Bell Trail for the remainder of the hike. It will take you right back to where you started, across the road from the park office.
Along this final portion of the trail, you will pass the Spillway Trail and the Creech Hollow Trail. Be sure and stay on the Montgomery Bell Trail, which is clearly marked with white markers. Toward the end of your hike, you’ll cross the main park road and see signs for an orienteering trail. Don’t be confused– This is still the Montgomery Bell Trail! As long as you are headed down the hill, paralleling the main road, you are headed in the right direction.

Quick directional recap:
-Take the Nature Trail Loop to the Wildcat Trail.
-Turn right onto the Wildcat Trail and follow it to the Ore Pit Loop.
-Take the Ore Pit Loop to its SECOND intersection with the Montgomery Bell Trail.
-Turn RIGHT onto the Montgomery Bell Trail and follow it all the way back to the park office.
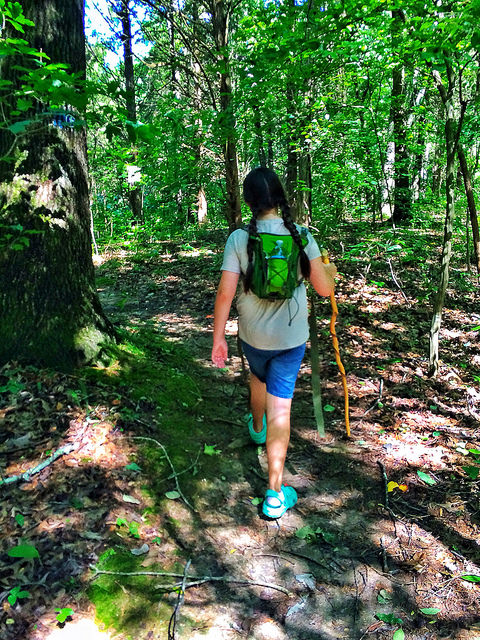
I hiked the Nature Trail one morning with my son and daughter when I signed them up for Jr Ranger Camp a couple of months ago. My daughter and I came back and hiked the 4.2 mile version of this hike on our own. We thought it was a perfect length for us– There are plenty of hills to climb and it was a great workout. We were tired at the end, but not completely worn out. The 4.2 mile hike took us about 2 hours and 15 minutes. If you hike the Nature Trail, add another 20 or so minutes.
You might also opt to take a picnic lunch on this hike– The church clearing is a great place to stop or a bite to eat. This park is a great one for summer hikes because of its deep forest, which keeps temperatures from getting too unbearable. My daughter and I can’t wait to come back and explore more trails– I’ll update you when we do.
Enjoy your hike!
Get more ideas on family fun in the Nashville area by following Suburban Turmoil on Facebook, Twitter, Instagram and Pinterest!
Leave a Reply Cancel reply
This site uses Akismet to reduce spam. Learn how your comment data is processed.

[…] — and I’ve even found some pretty great fossils both times we’ve made this hike. Check out this post for full hike instructions, and do buy a map at the visitor’s center before you start- It’s easy to get turned […]